That stained, cracked, and mildewed grout in your shower is impossible to ignore. It makes the whole bathroom look dated and dirty. You’ve seen the DIY kits at the hardware store, and you’re thinking about spending a weekend fixing it yourself. Sometimes, that’s a great idea. But in many San Diego homes, especially older ones, that ugly grout isn’t the real problem—it’s a symptom of a much bigger, wetter issue hiding behind your tile.
What regrouting actually fixes (and what it doesn’t)
First, let’s clear up a common misconception. Grout is not waterproof. Its primary jobs are to lock tiles in place, create consistent spacing, and add compressive strength to the tiled surface. While modern cementitious grouts and epoxy grouts are highly water-resistant, especially when sealed, they are not a waterproof barrier. The real waterproofing happens behind the tile, with a membrane or waterproof backer board system.
Regrouting is a fantastic cosmetic fix. It can:
- Restore the clean, new look of your shower.
- Remove surface-level mildew and stains that have penetrated porous, unsealed grout.
- Fill in small cracks and voids, preventing water from sitting in the joints and protecting the edges of your tile from chipping.
What regrouting absolutely does not fix is a failed waterproofing system. If water has been getting behind your tiles for months or years, scraping out the old grout and putting in new grout is like putting a band-aid on a broken leg. The underlying damage—rotting studs, saturated drywall, and mold growth—will continue to get worse. Slapping on new grout might trap moisture in the wall, accelerating the decay.
Tile pop, hairline cracks, mildewed grout — three different problems
When you look at your shower’s grout lines, you’re looking at clues. Each type of failure tells a different story about what’s happening to your shower walls.
Mildewed Grout
This is the most common complaint. A little bit of pink or black spotting in the corners can often be managed with better ventilation and regular cleaning. But if you have persistent, dark mildew that returns almost immediately after you scrub it, that’s a red flag. It’s a classic mildewed grout fix attempt that fails because the moisture source is constant. It often means the wall cavity behind the tile is damp, creating a perfect breeding ground for mold that grows through the porous grout.
Hairline Cracks
Small, spidery cracks in the grout can happen for a few reasons. In San Diego, minor house settling can cause them. They can also appear if the grout was mixed with too much water during installation, causing it to shrink and crack as it cured. While small cracks can be a simple tile grout repair issue, they are also tiny highways for water to get behind your tile, starting a slow-motion disaster.
Tile Pop or “Tenting”
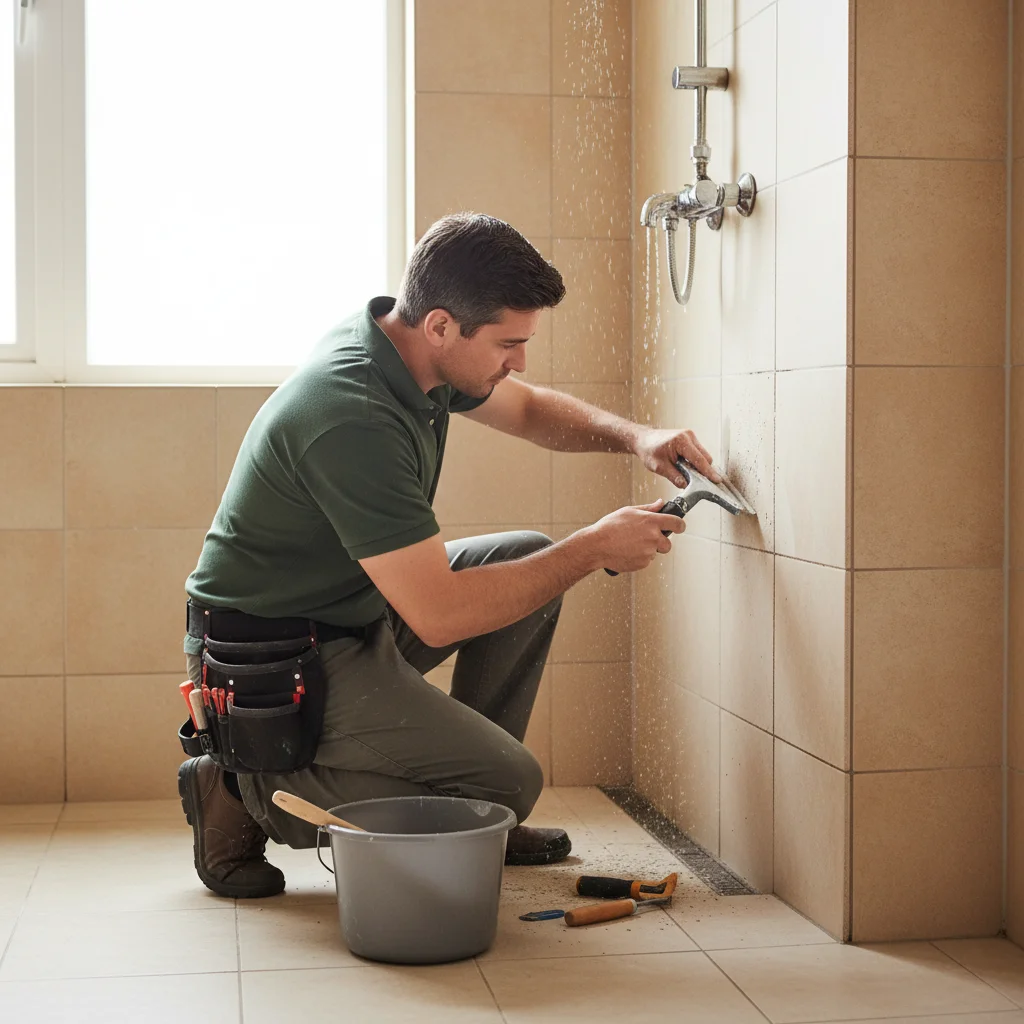
If you have a tile that sounds hollow when you tap it, feels loose, or is physically pushing outward from the wall, stop. Do not pass go, do not start a regrouting project. This is a clear sign that the bond between the tile and the substrate has failed, almost always because of long-term water intrusion. The adhesive has turned to mush. Regrouting won’t fix this; the affected tiles (and likely the backer board behind them) need to be removed and replaced. This is a job that requires professional tile repair to address the root cause.
Sanded vs unsanded grout, color matching, sealing
If you’ve determined your issue is purely cosmetic and the wall behind the tile is solid, a DIY regrout is possible. But getting the details right is crucial for a job that looks good and lasts.
Sanded vs. Unsanded Grout: The choice depends on the width of your grout lines. The rule is simple: for joints 1/8 inch or wider, use sanded grout. The sand adds strength and prevents shrinkage and cracking. For joints smaller than 1/8 inch, use unsanded grout; the sand particles are too large to pack into such a narrow space properly. Using the wrong type will lead to a weak, crumbly result.
Color Matching: This is one of the trickiest parts of a regrouting job. The color on the bag is rarely the exact color it will be once mixed and dried. Worse, your existing grout has likely faded and changed color over the years from cleaning products and sun exposure. The only way to know for sure is to do a small test patch in an inconspicuous area and let it dry completely for 24-48 hours.
Sealing: This is the most-skipped step, and it’s the most important one for longevity. Cement-based grout is porous like concrete. Without a quality impregnating sealer, it will absorb water, soap scum, and dirt, leading to stains and mildew. The sealer should be applied 48-72 hours after the grout has fully cured. Don’t forget that the corners and edges of your shower also need proper attention—this involves caulking and sealing to create a flexible, waterproof joint.
The hidden cost: water damage behind the tile
Here in San Diego County, we have a huge number of homes built in the 1950s, 60s, and 70s. Think of the classic tract homes in neighborhoods like Clairemont, La Mesa, or older parts of Escondido. Back then, modern waterproofing standards didn’t exist. Showers were often built using tile set directly onto “green board,” a type of moisture-resistant drywall.
This system was okay, but it had a fatal flaw: it relied entirely on the grout and caulk to be perfectly maintained. The moment a small crack appeared, water would start wicking into the gypsum core of the drywall. Over time, that green board turns to a soft, pulpy mess. This is the hidden danger. You might see some discolored grout and think it’s a $100 DIY fix, when in reality you have a $3,000 problem involving rot, mold, and a full tear-out of the shower wall.
A professional handyman or tile setter knows what to look for. They aren’t just looking at the grout; they’re looking for subtle sponginess in the wall, hollow-sounding tiles, and other clues that point to a compromised substrate. This diagnostic step is the single biggest reason to consider a pro over DIY.
DIY regrouting cost vs hiring a tile pro
Let’s break down the real investment for both paths.
DIY Shower Regrouting Cost: On the surface, the cost is low. You’ll need a grout removal tool (a simple carbide scraper or an oscillating multi-tool blade), a bag of grout, a grout float, a sponge, buckets, and a bottle of sealer.
- Materials: $75 - $150
- Time: This is the big one. For a first-timer, properly scraping out all the old grout from a standard shower can take 8-12 hours of dusty, tedious work. Add another 4-6 hours for cleaning, applying new grout, and cleaning again. Then you wait two days and spend another hour sealing. You’re easily looking at 15-20 hours of labor.
Hiring a Pro:
The shower regrouting cost from a professional in San Diego typically ranges from $600 to $1,400 for a standard tub/shower combo. The price varies with the size of the shower, the type of tile, and the extent of the existing damage.
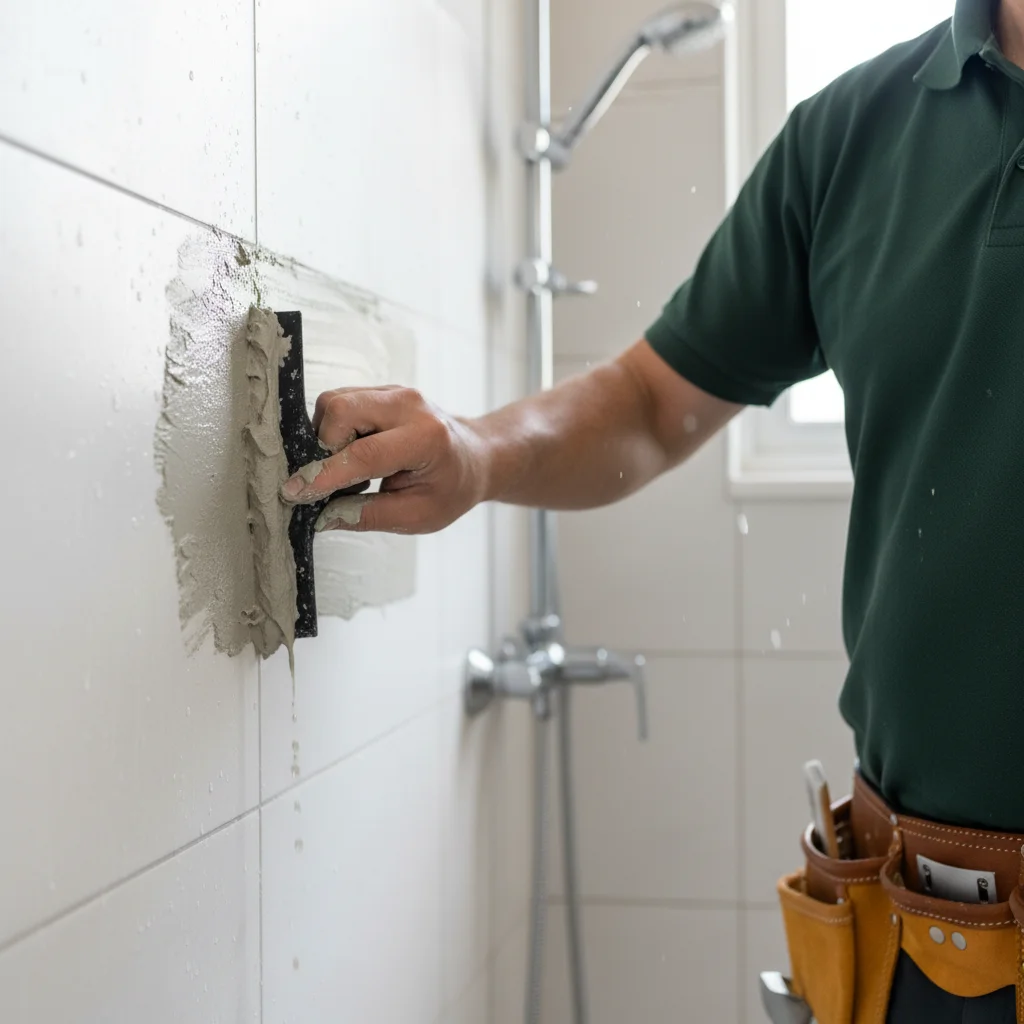
- What you’re paying for: Speed, tools, and expertise. A pro can often complete the job in a single day. They have the right equipment to remove old grout efficiently and the experience to apply new grout flawlessly. Most importantly, you’re paying for their professional assessment of the shower’s underlying condition. They can tell you with confidence whether a simple regrout will solve your problem or if you need to plan for a more significant repair.
How to know your tile substrate is still sound
Before you buy a single tool, perform this simple 5-minute inspection. It could save you a world of regret.
- The Tap Test: Use your knuckle or the plastic handle of a screwdriver and tap every single tile in your shower. Listen carefully. Most should have a solid, “thud” sound. If you hear a hollow or “clacky” sound, it means the tile has detached from the wall behind it. Mark these tiles with painter’s tape. If you have more than two or three hollow tiles, you likely have a substrate problem.
- The Press Test: Firmly press on the tiled walls with the palm of your hand, especially around the faucet, corners, and the bottom rows. The wall should feel rock-solid. If there is any give, flex, or sponginess, that’s a critical warning sign of water-damaged, soft backer board.
- Check the Corners: Look closely at the vertical and horizontal corners where the walls meet each other and the floor or tub. These joints should be filled with flexible caulk, not hard grout. If the caulk is cracked, peeling, or missing, it has been a direct entry point for water. Our caulking guide for San Diego homes explains why this is so important for preventing water intrusion.
- Inspect Adjacent Walls: Check the wall on the other side of your shower fixtures. Do you see any bubbling paint, discolored baseboards, or water stains? These are signs that a leak has traveled all the way through the wall.
If your shower fails any of these tests, a regrouting project is not the right solution. You’re looking at a more involved repair that addresses the water damage first.
When to call us
If your shower passed the inspection and you’re just dealing with some ugly, stained grout, a DIY approach can work if you have the patience. But if you tapped on a few hollow tiles, felt any sponginess in the wall, or suspect the problem is more than skin-deep, don’t cover it up with new grout. That’s when it’s time to get a professional opinion.
Call us at (858) 808-6055 for same-day handyman service across San Diego County. We can assess the true condition of your shower and give you a clear path forward.